This course contains member only contents,
please check the following for
membership subscription.
-
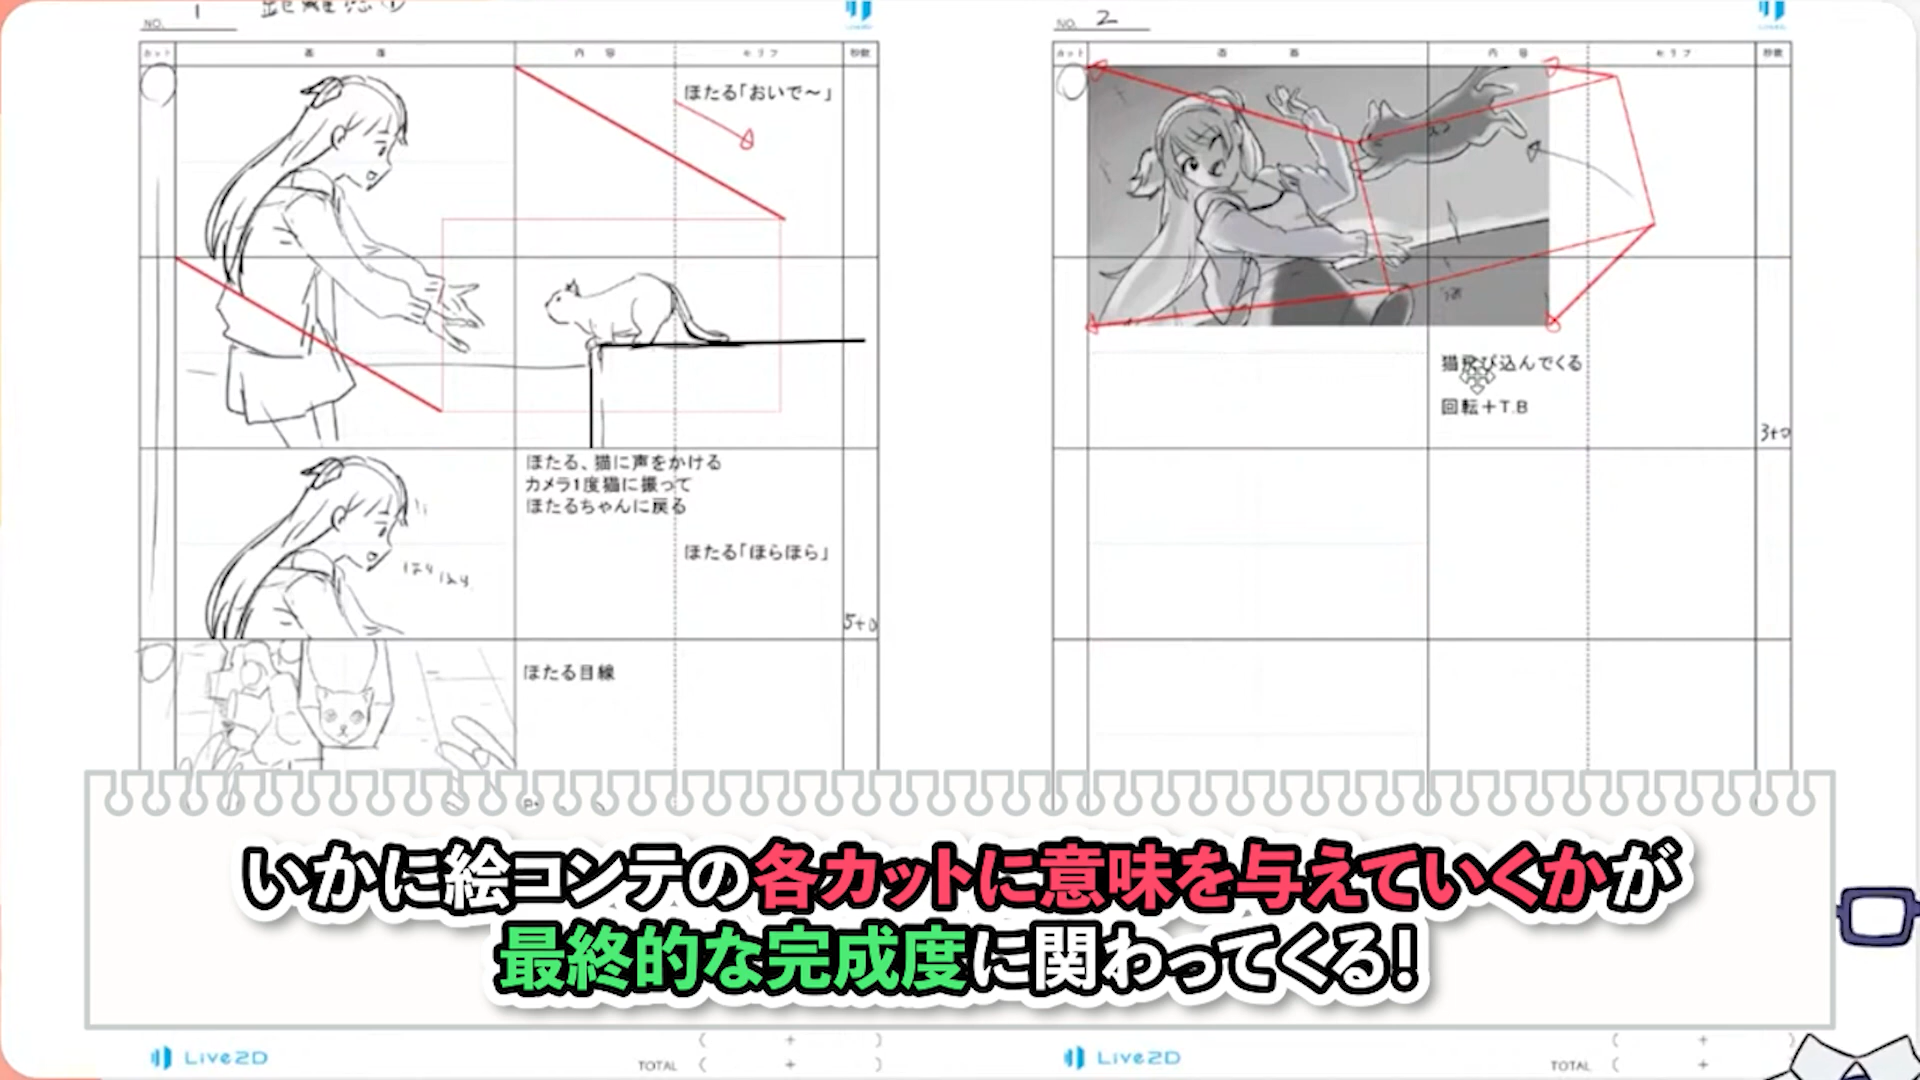
Explanation of how to make a storyboard
-
Introduce tips on how to create animation
-
Walking motion
-
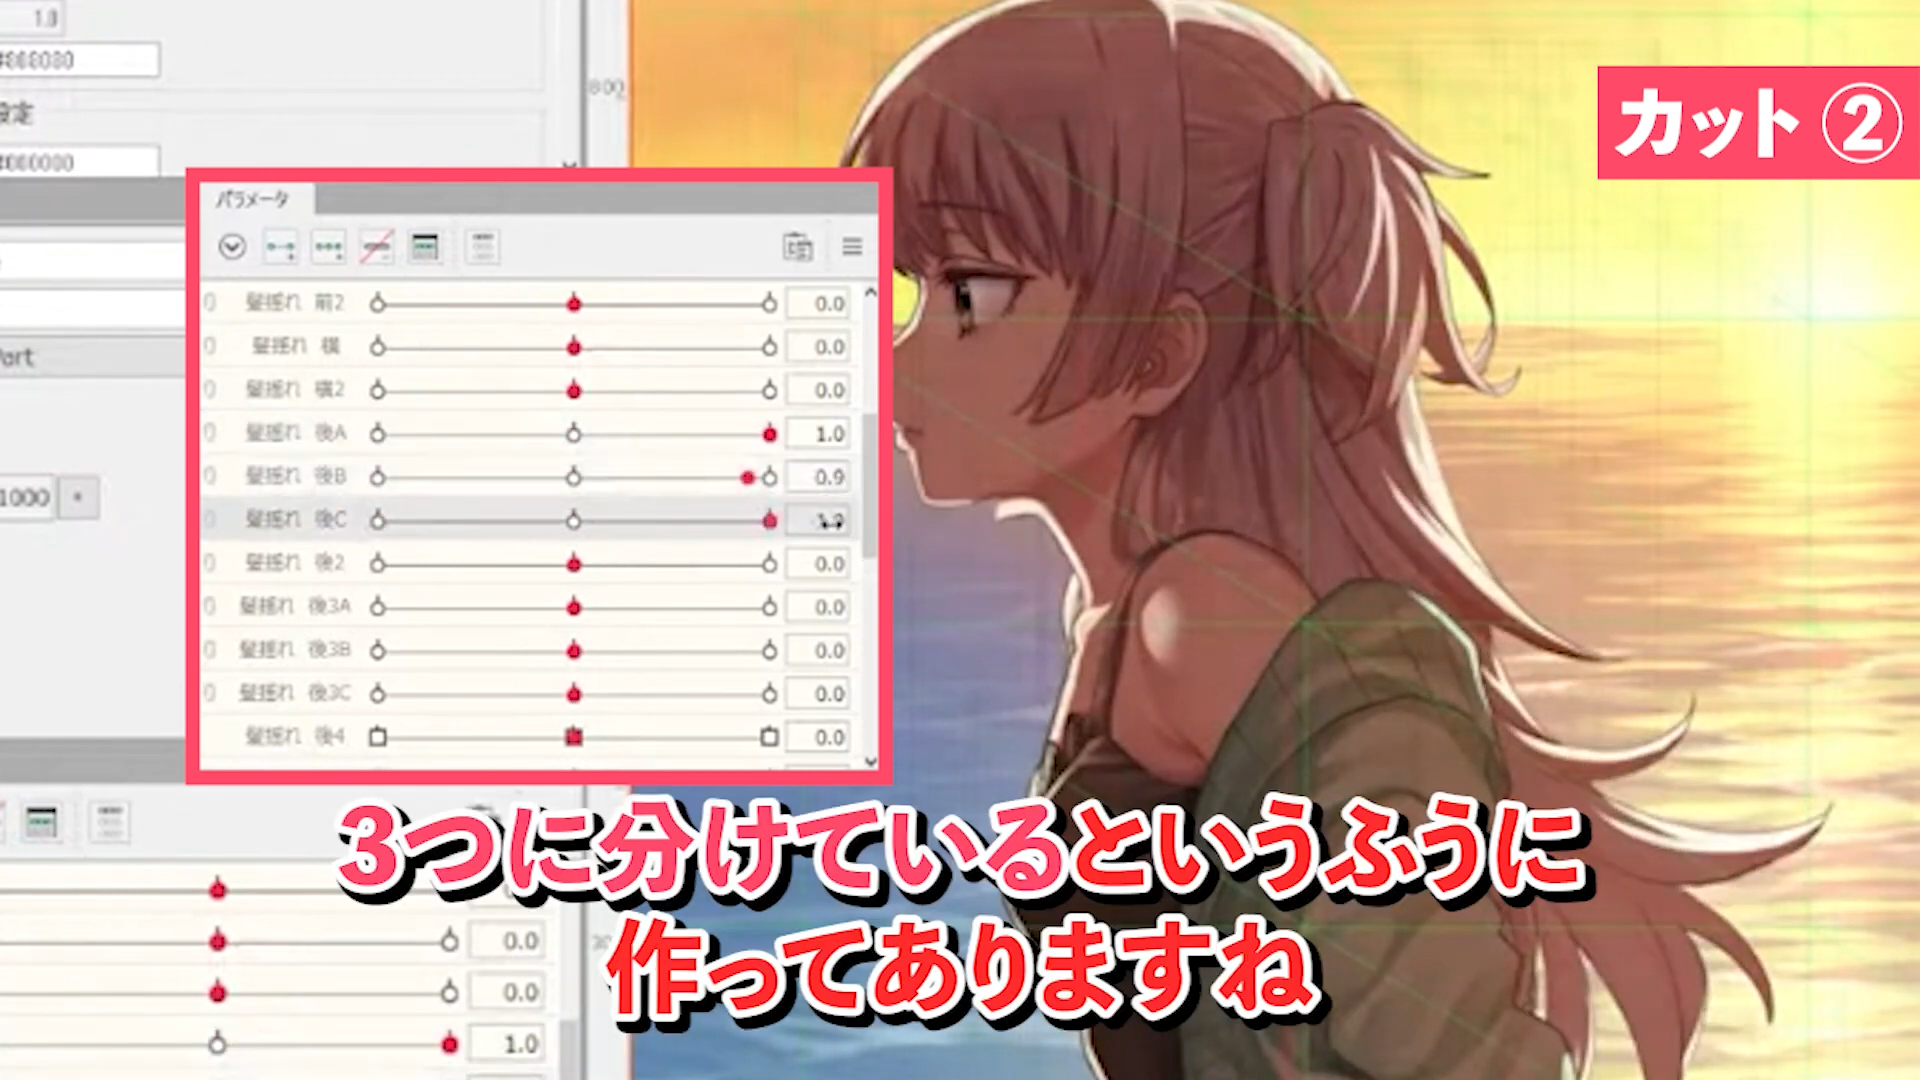
Creating natural hair swaying by breaking down parameters in detail
-
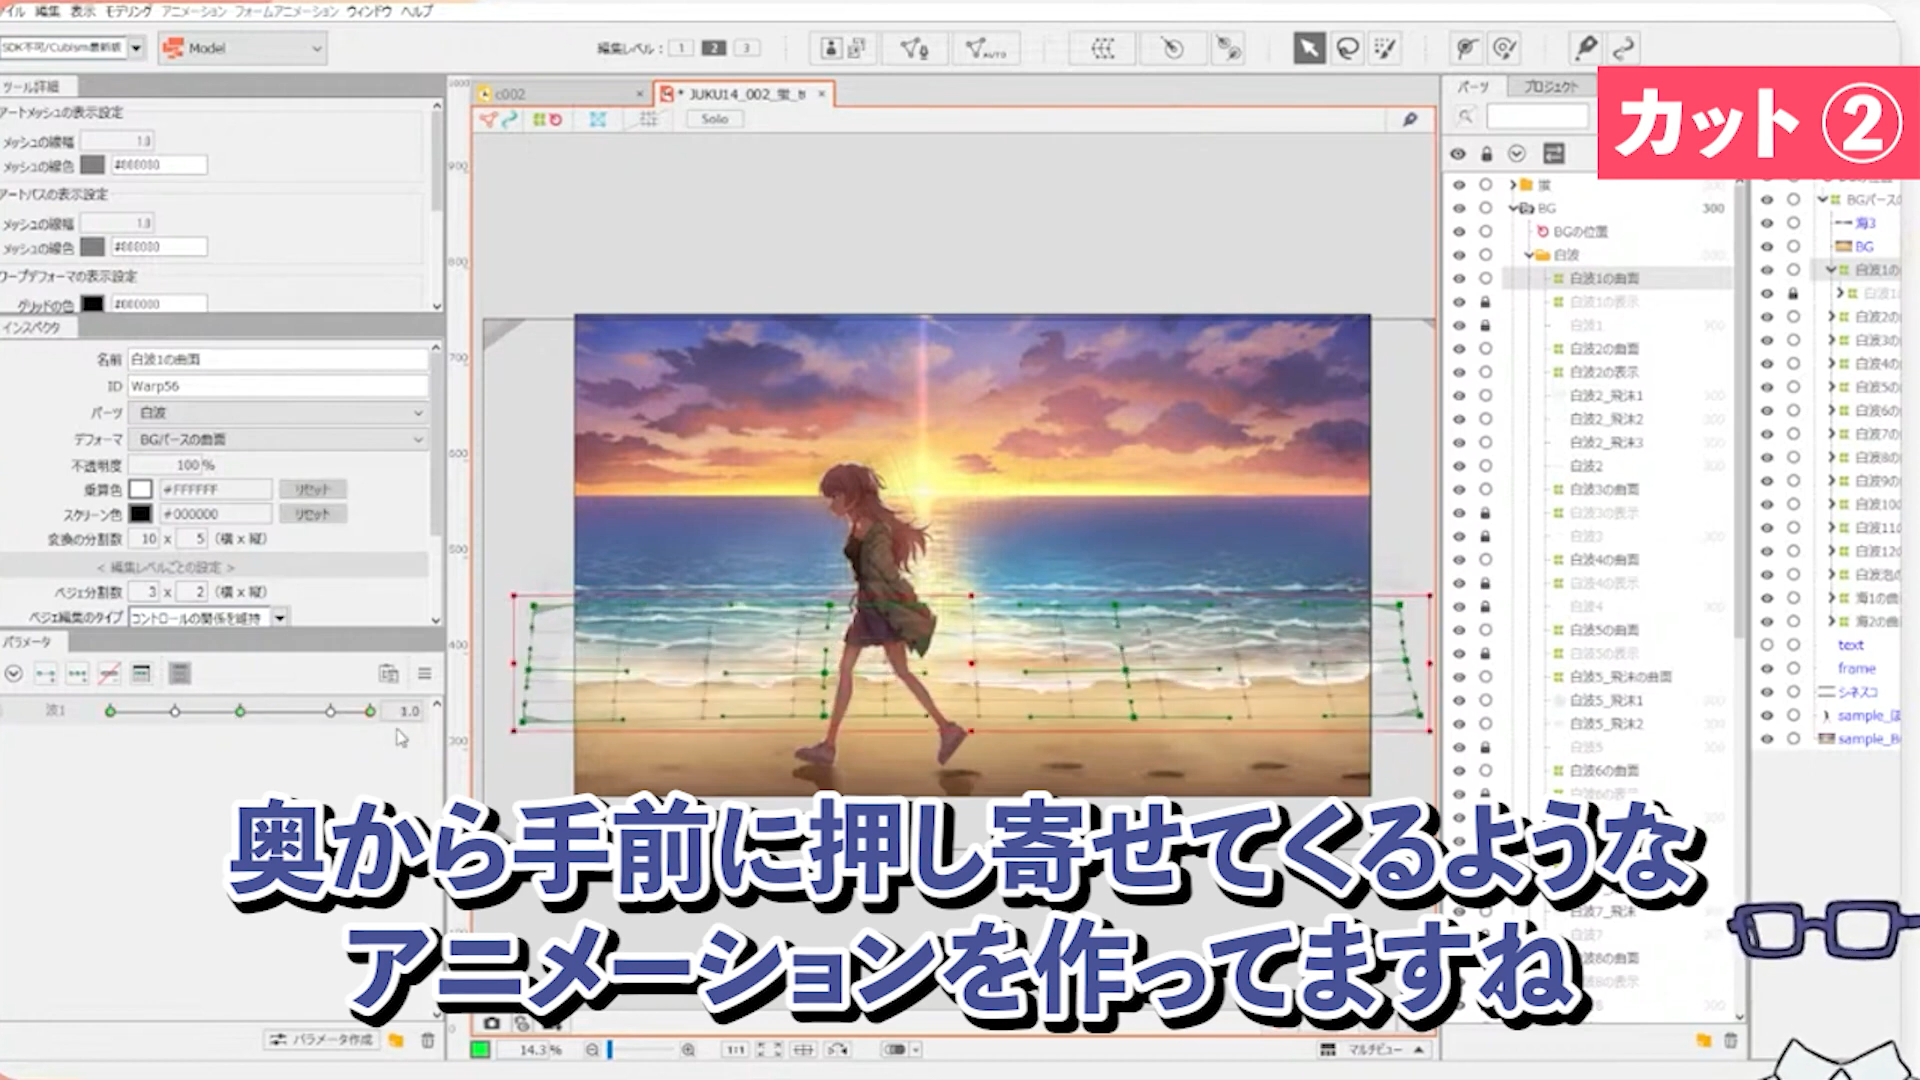
Modeling the background
-

Adjusting the model with form animation
-
Tips for animating slow motion
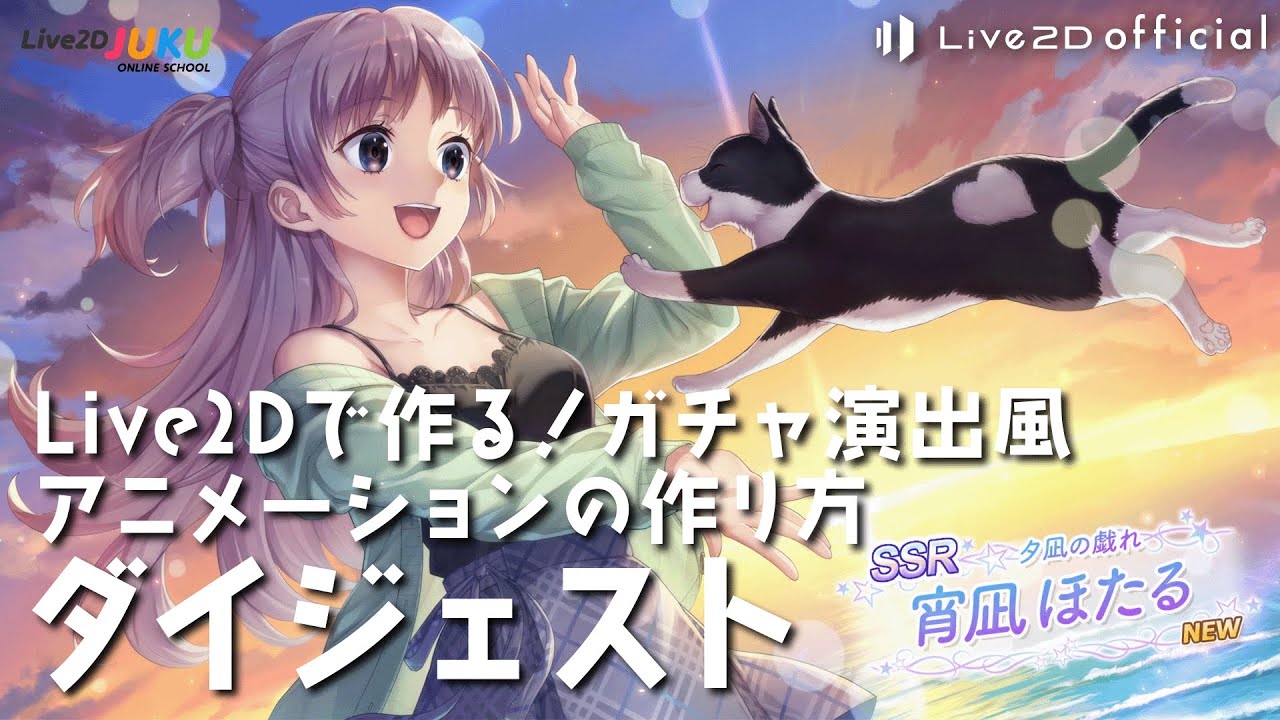
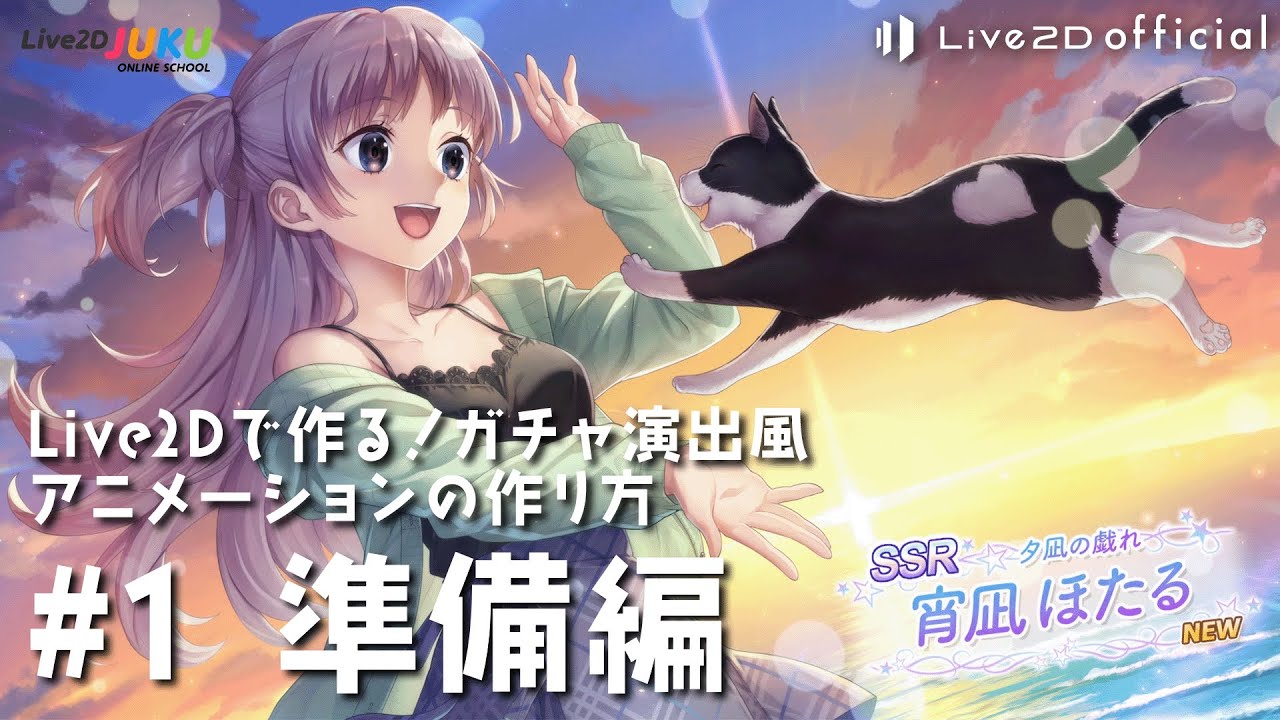
In this course, we will explain how to create a gacha style animation by connecting short cuts using Live2D models, while showing actual data.
The lecture will cover modeling, motion, and direction from different perspectives, so compare with the distributed data and learn how to create short animations with Live2D!
■List of videos in this course
#1 Preparation
#2 Production Cut1~4
#3 Production Cut5~6
The data used in this course can be downloaded from here.
You need to login to the members-only page to download the data. For details about logging in, please click here.
This is an edited version of the live streaming on 2022.9.1, Live2D making! How to Create a Gacha Animation [SSR Yoinagi Hotaru] [#Live2DJUKU].
Total 3 videos
-
#1Preparation
We will explain what you should do before starting the actual work, how to prepare materials, storyboards, etc. for making a short animation like a gacha style animation
Let’s think about the specifications of the video.
Think about the necessary materials
Let’s make a storyboard
Actual work
Let’s make a cinematic. -
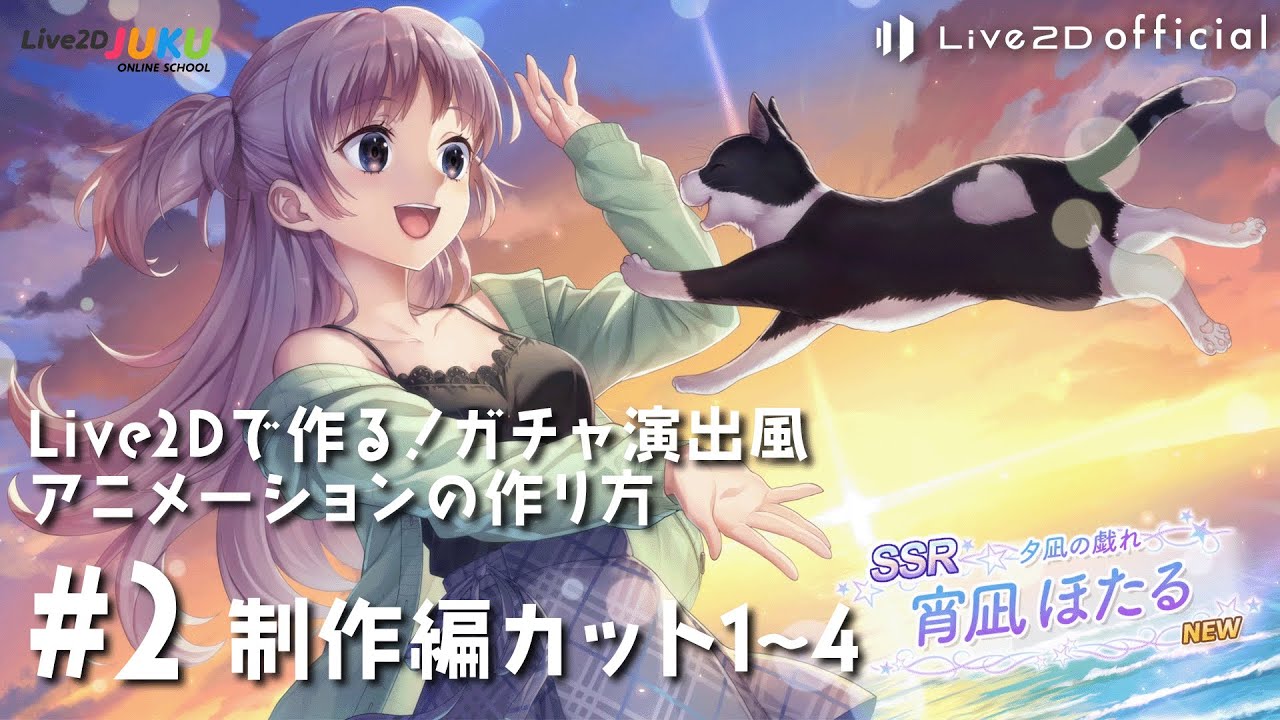
#2Production Cut 1-4
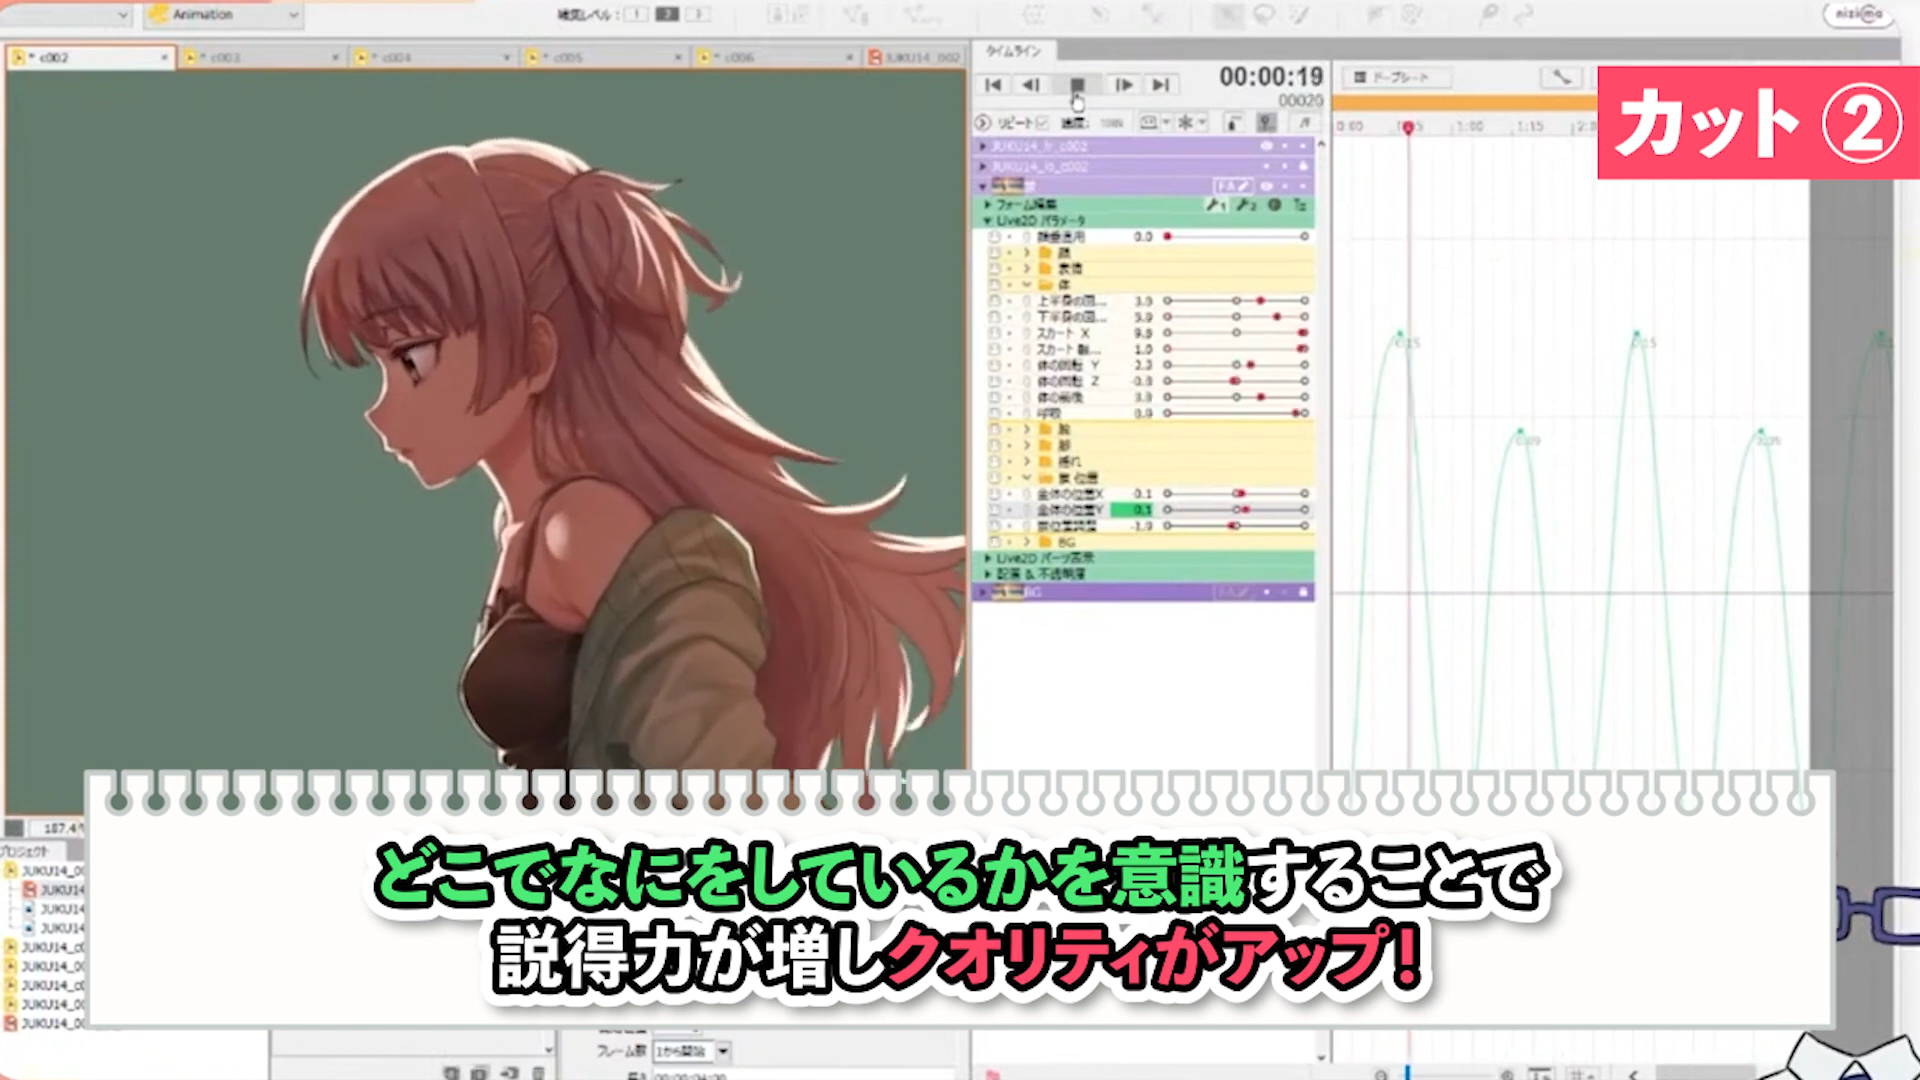
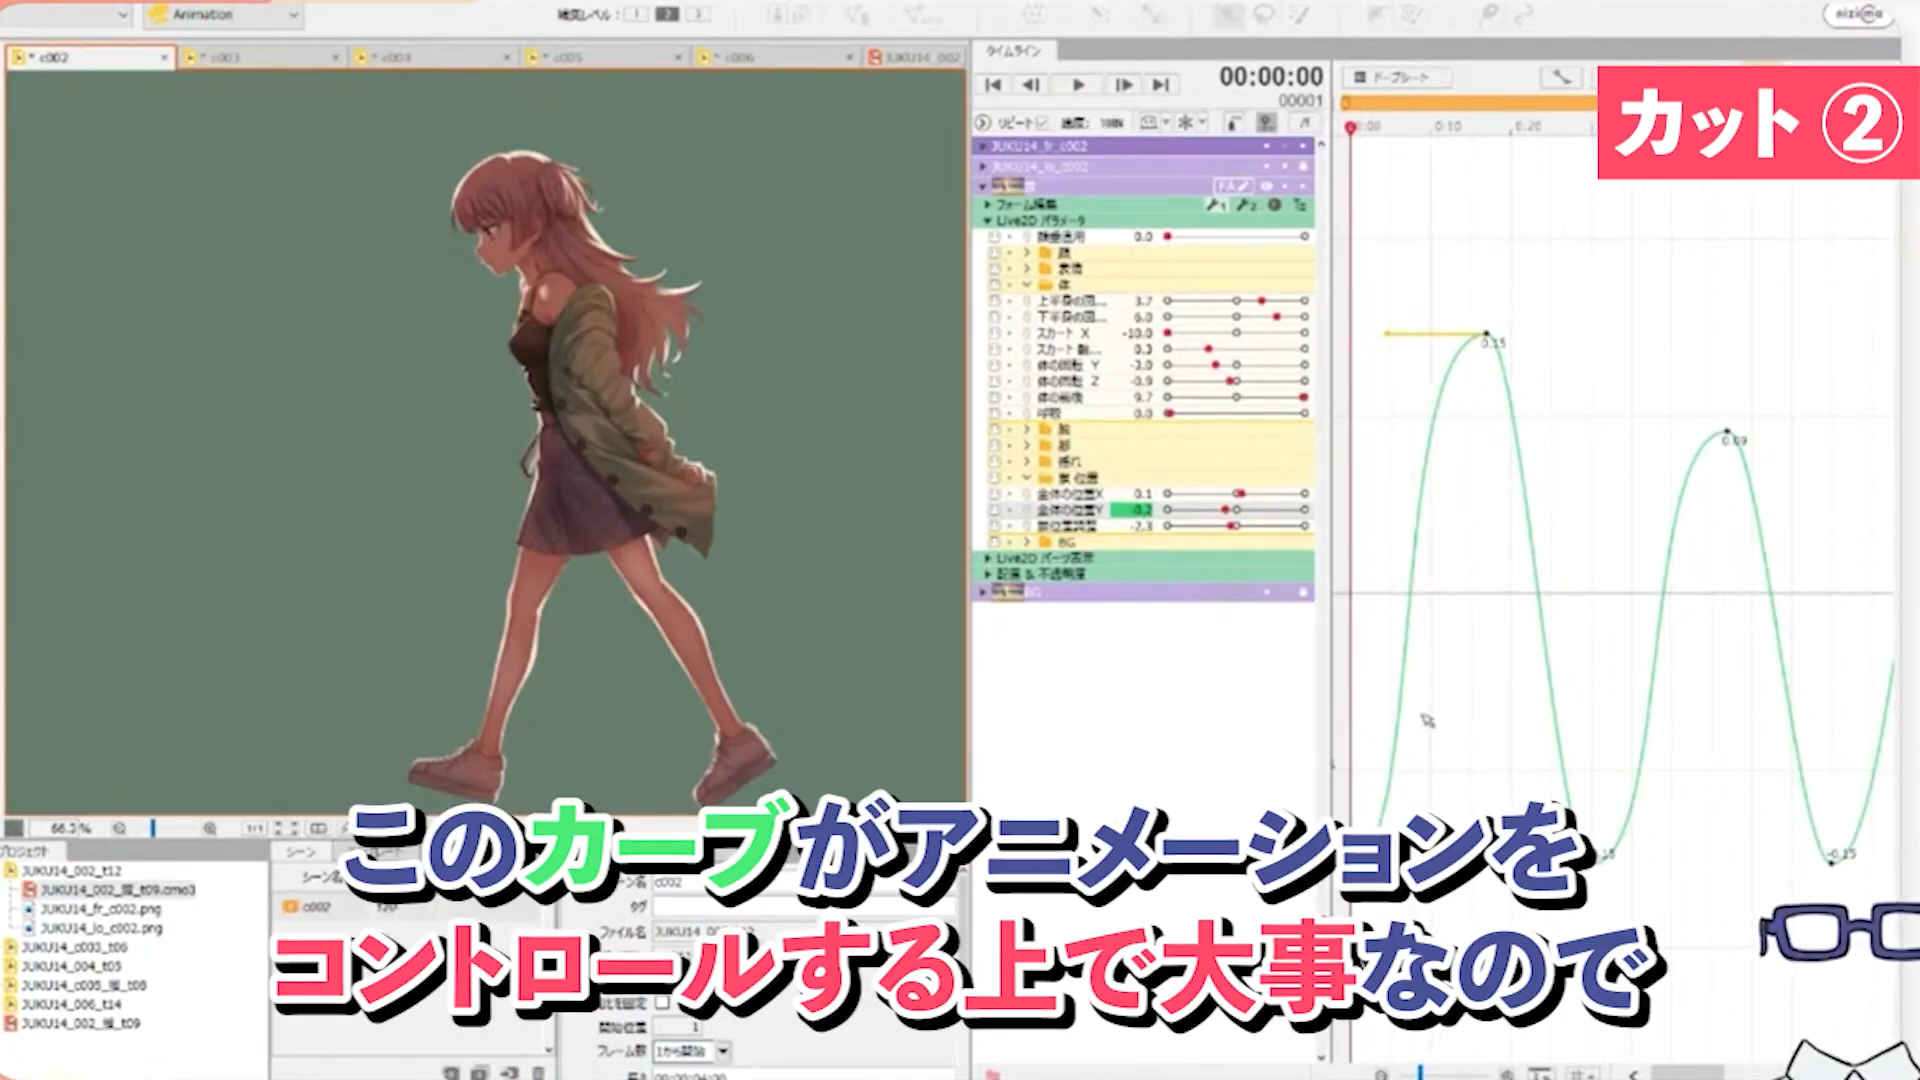
I will explain specifically how to create cuts 1~4 of this animation, showing the actual data and explaining modeling, motion, and staging from each of these perspectives.
Cut-by-cut introduction
Cut 2 (*Cut 1 does not use Live2D)
Cut 3
Cut 4 -

#3Production Cut 5-6
I will explain how to make cuts 5~6 of this animation by showing the actual data, followed by a light introduction on the post-production to connect all the cuts.
Cut 5
Illustration of the back eye
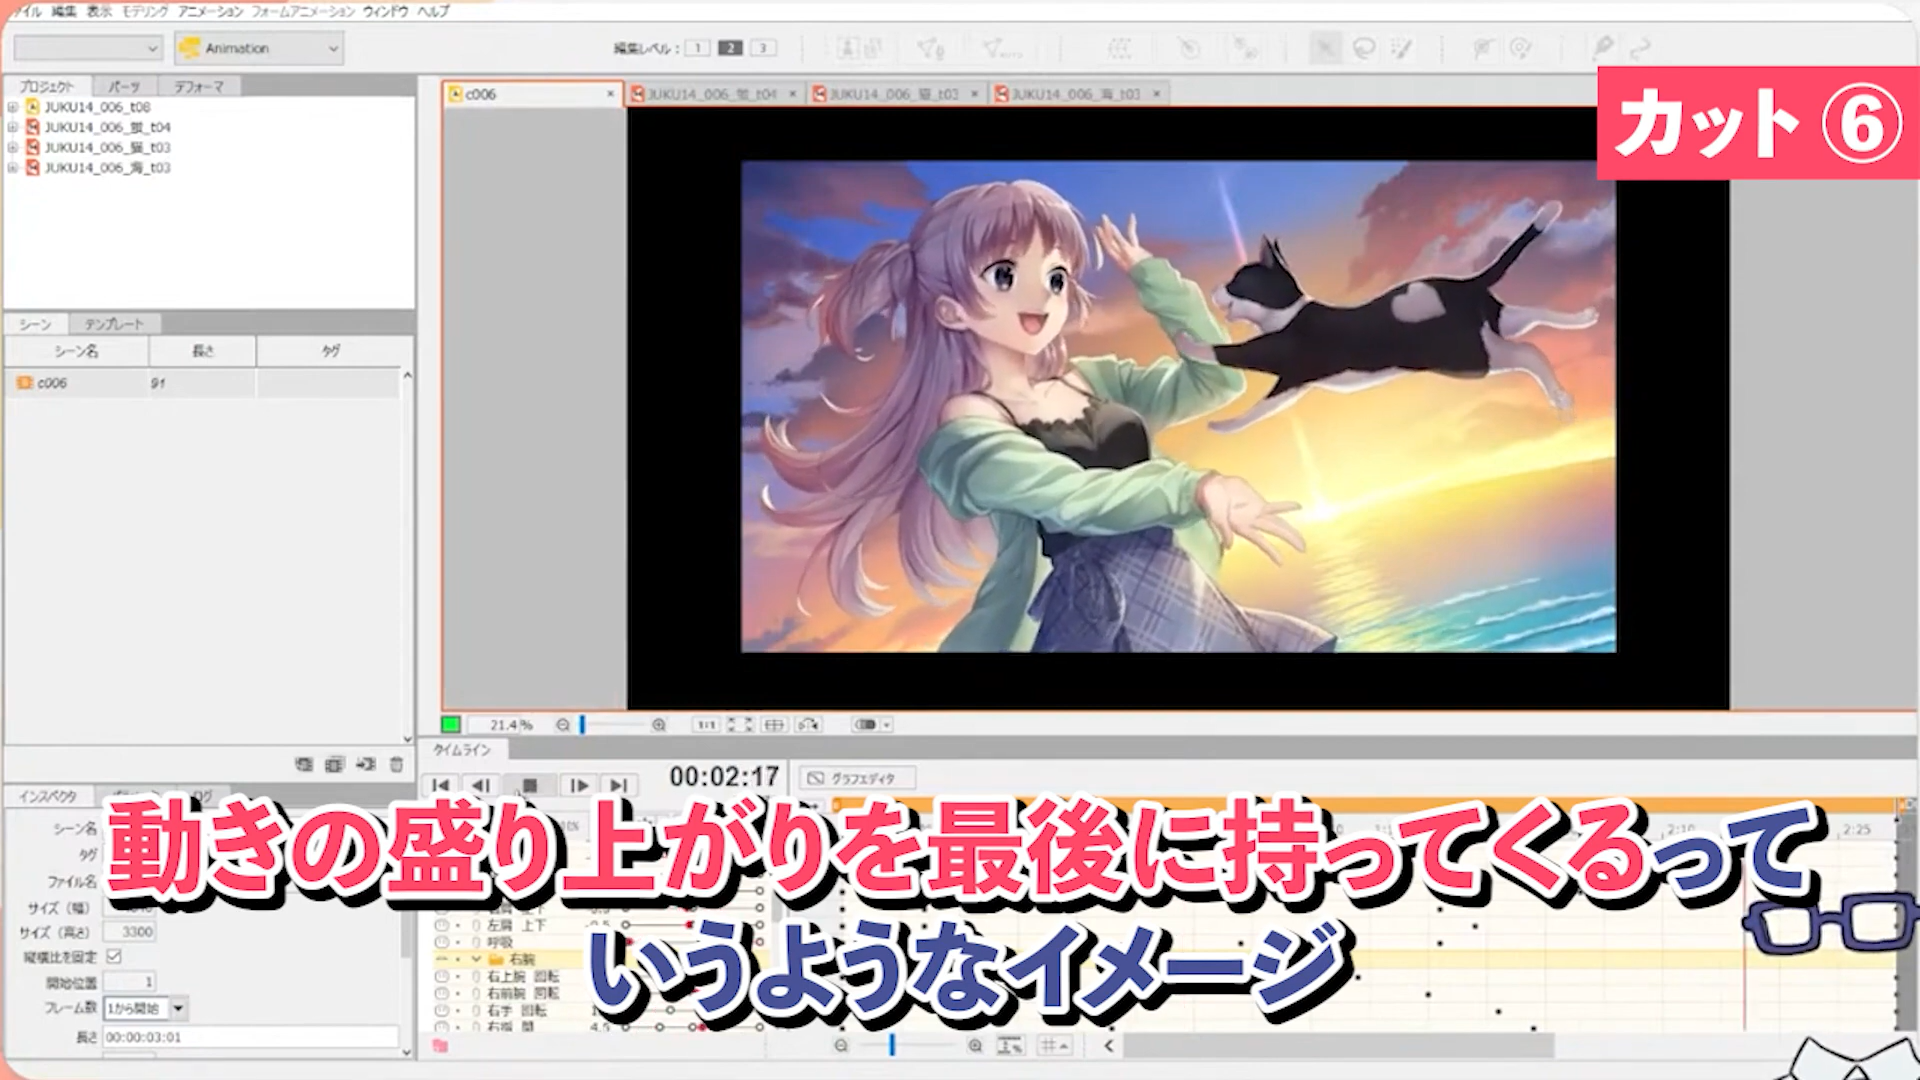
Cut 6
Composite Editing
Q&A
Release Date2022/10/06